Install VCSA 8 (vCenter Server Appliance) in VMWare Workstation
1. Download VCSA ISO
Download it from https://sysin.org/
2. Convert OVA File to OVF File
- Right click the ISO image and load it in the CDROM.
- Copy ovftool and ova file out to local disk.
- Put ova file under win32 folder.
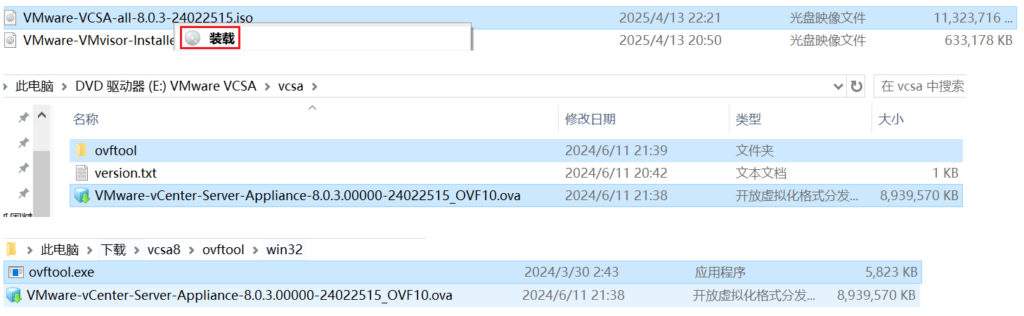
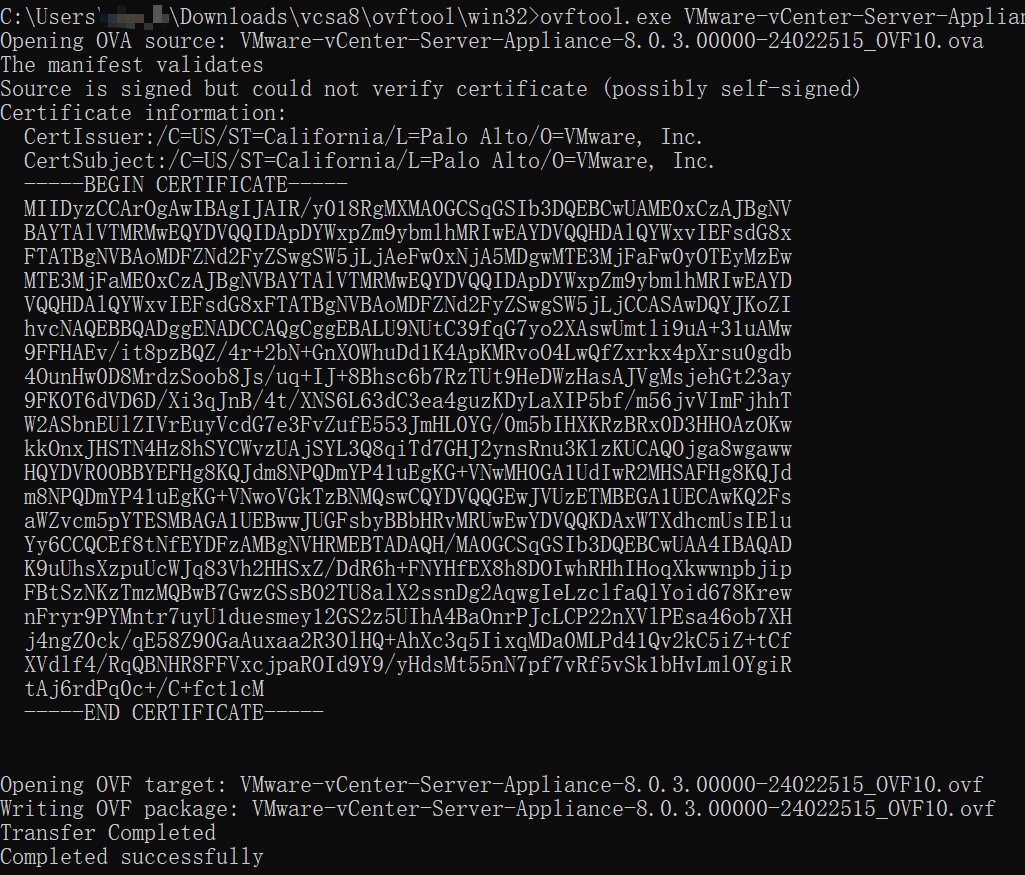
- Convert the ova file to ovf file by ovftool.exe
- ovftool.exe VMware-vCenter-Server-Appliance-8.0.3.00000-24022515_OVF10.ova VMware-vCenter-Server-Appliance-8.0.3.00000-24022515_OVF10.ovf
- Delete .mf file.

- Modify .ovf file with notepad.
- Change false to true for property “upgrade.import.directory”.

3. Import OVF file
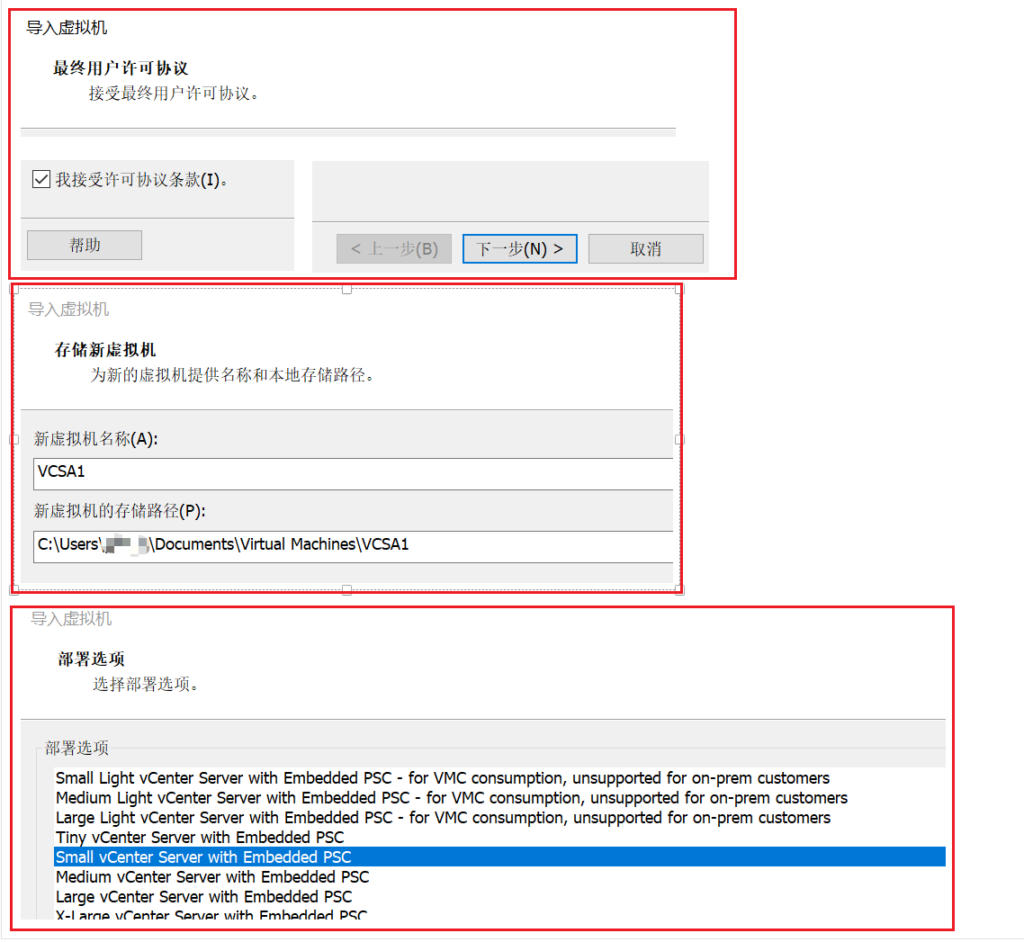
- Double click OVF file.
- Create the folder and create new VM in that folder.
- Select deployment option.
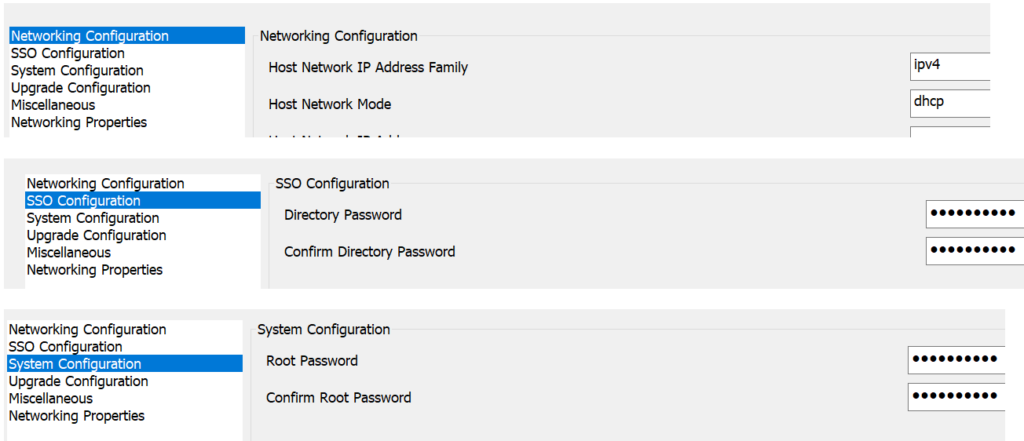
- Set the following and import.
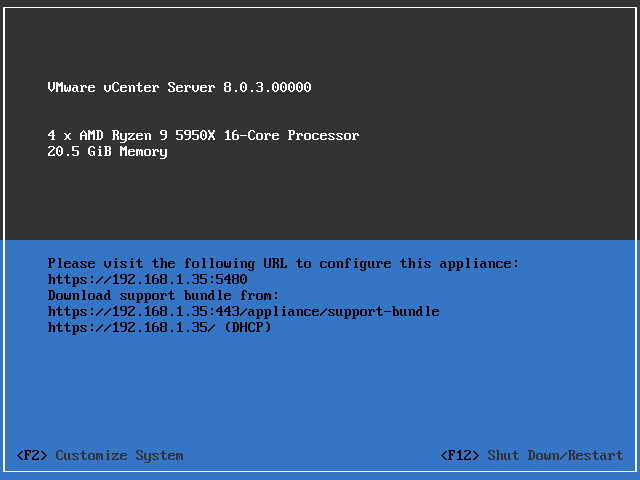
- Import done as follows.
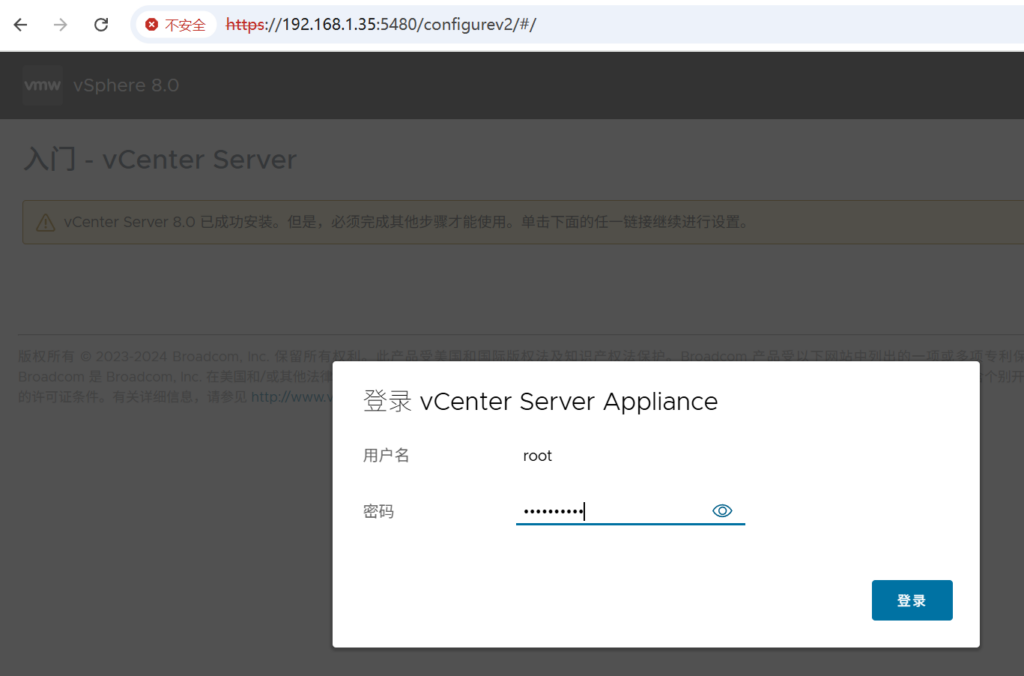
4. Configure vCenter Server
Visit https://192.168.1.35:5480/configurev2/#/
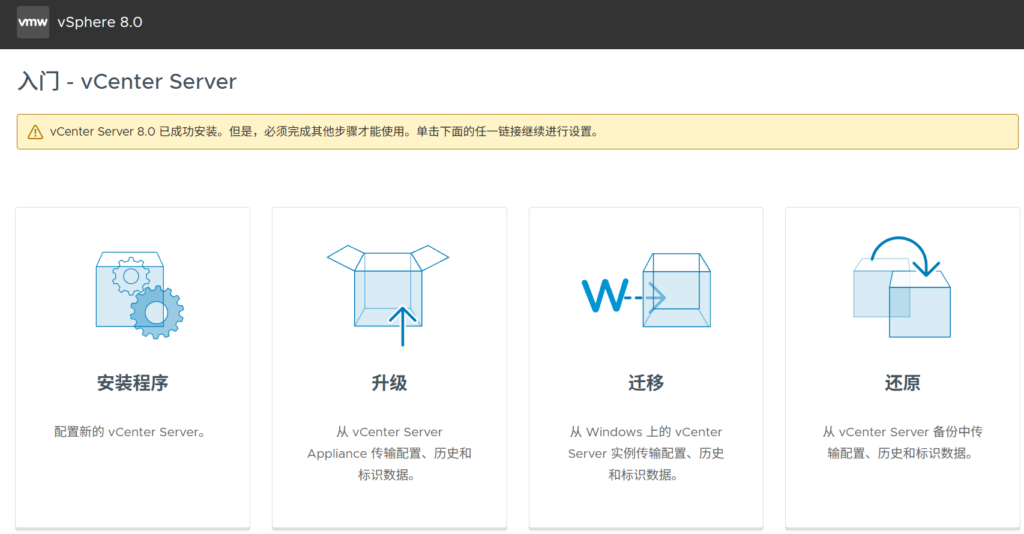
Click “Install Program”.
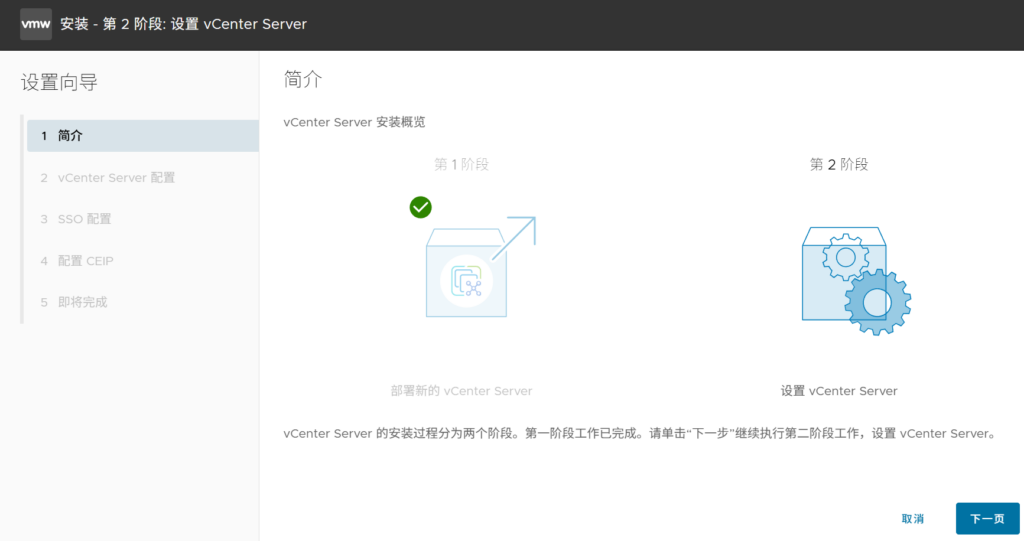
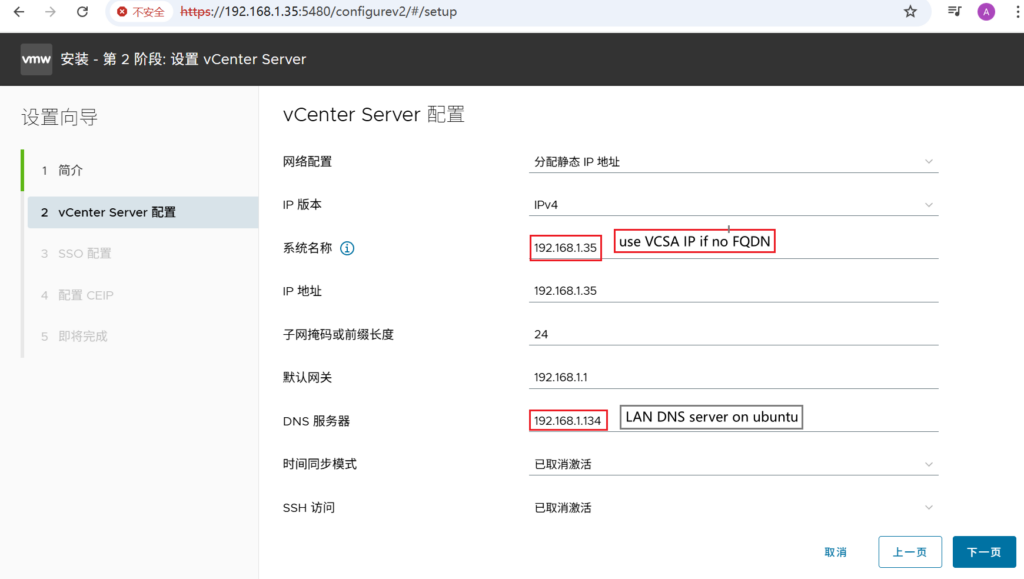
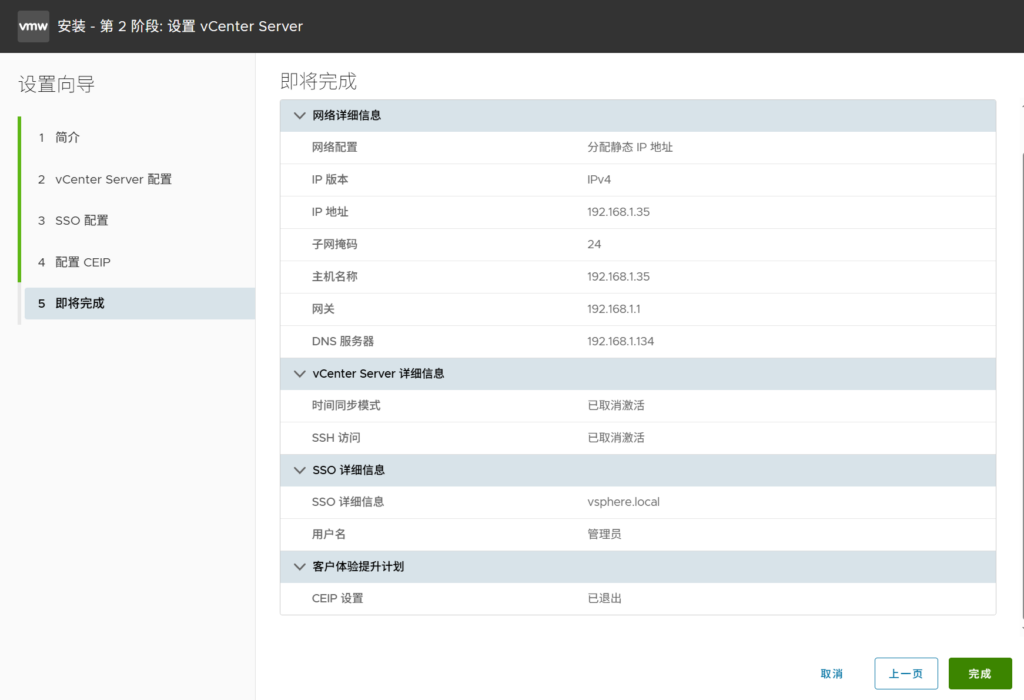
Set Network Parameters.
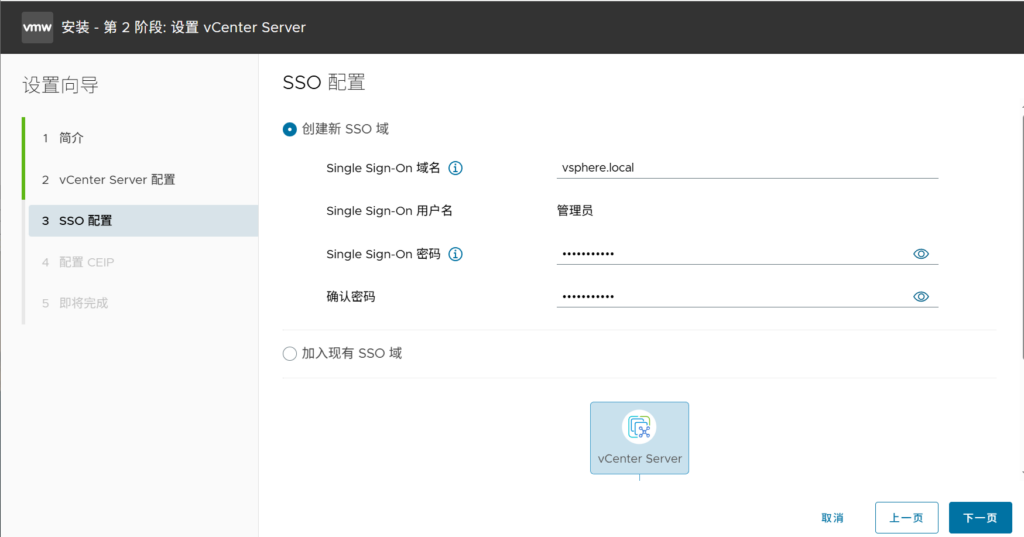
Set SSO.
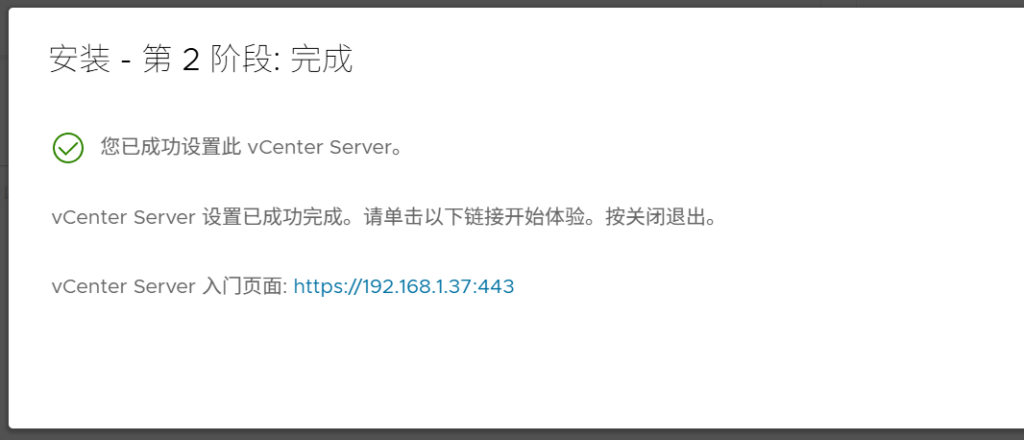
The installation takes around 15 minutes.
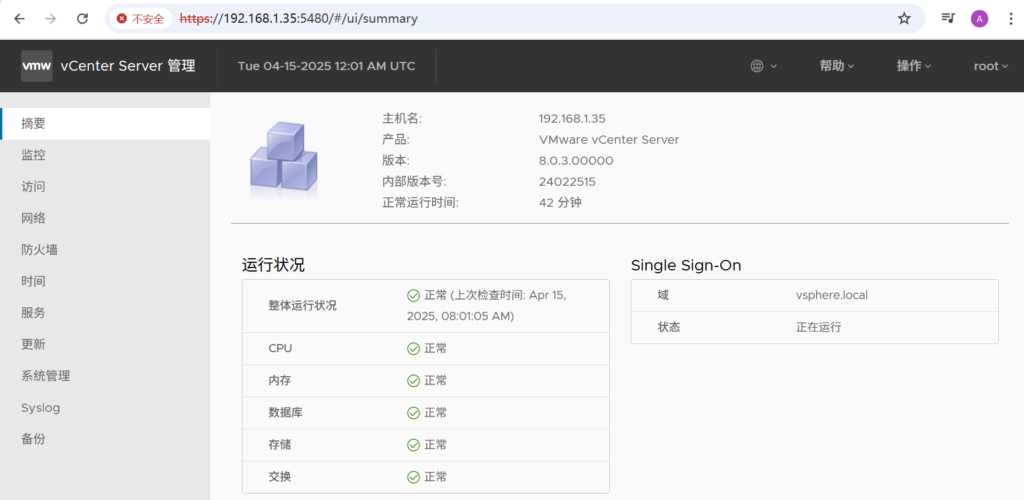
5. Check VCSA
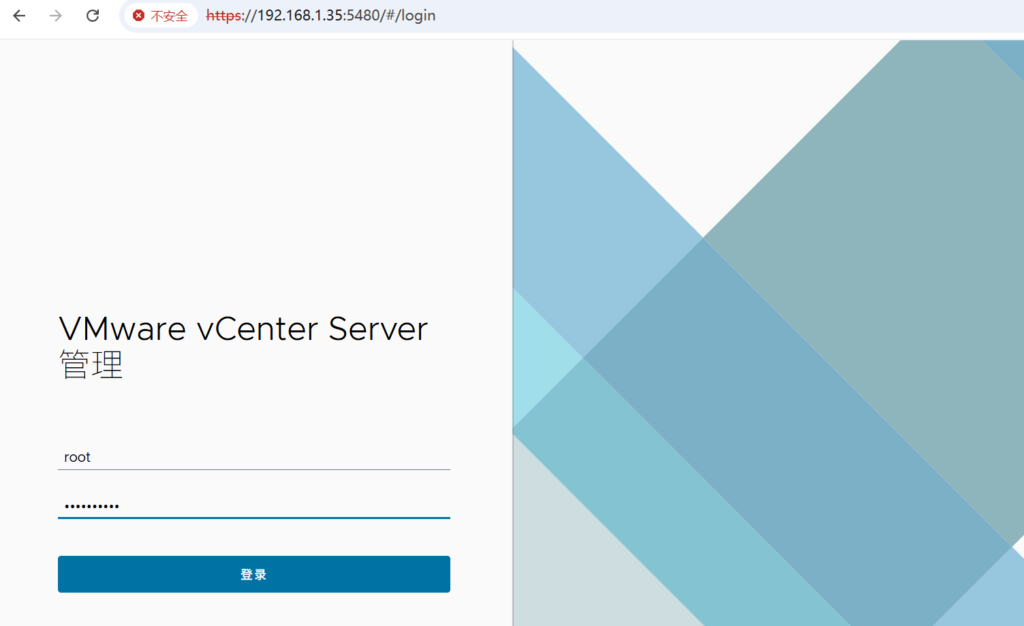
5.1 Check vCenter Server
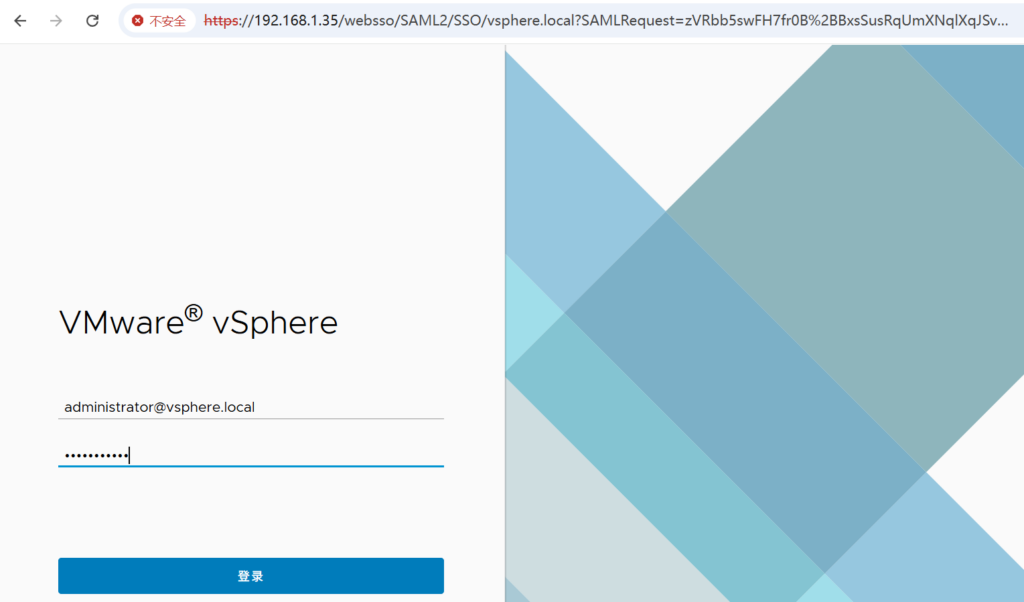
5.2 Check vSphere Client
Visit https://192.168.1.35

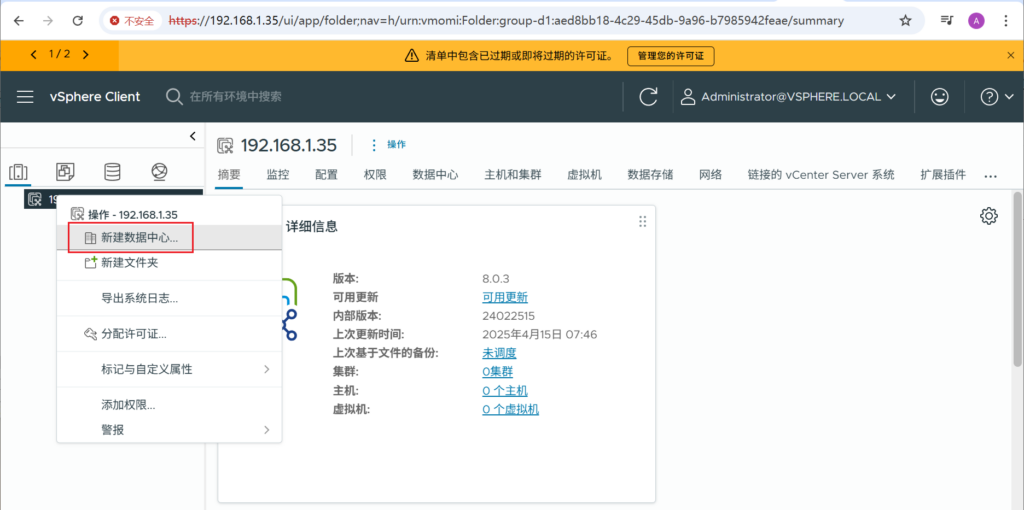
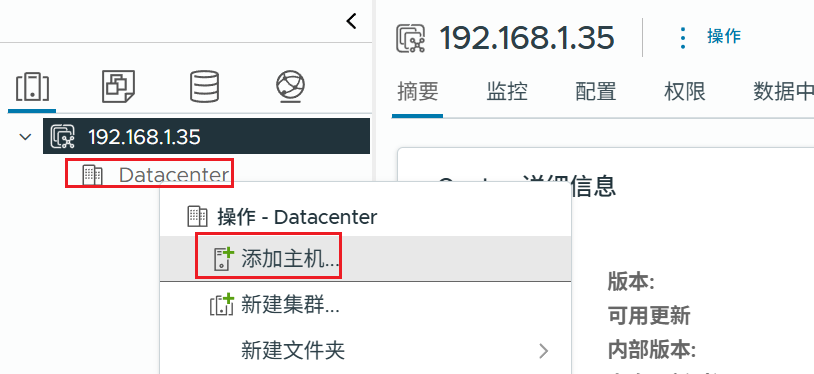
5.2.1 Add New Datacenter
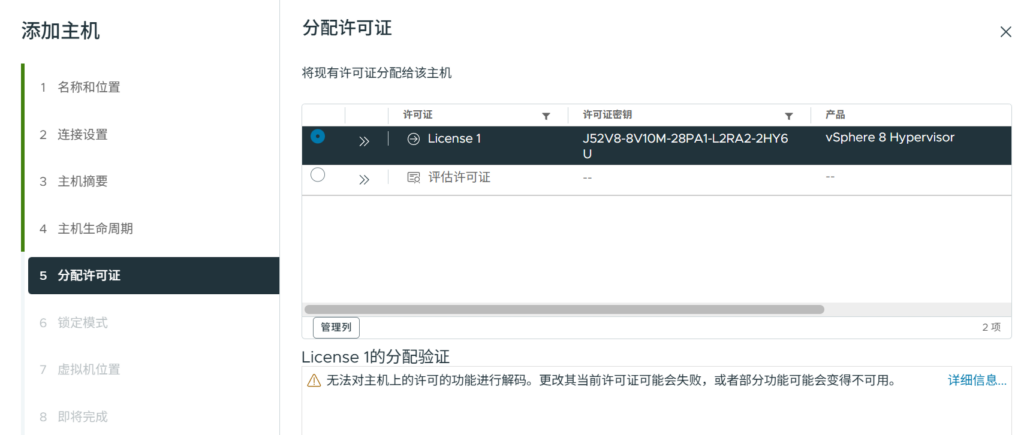
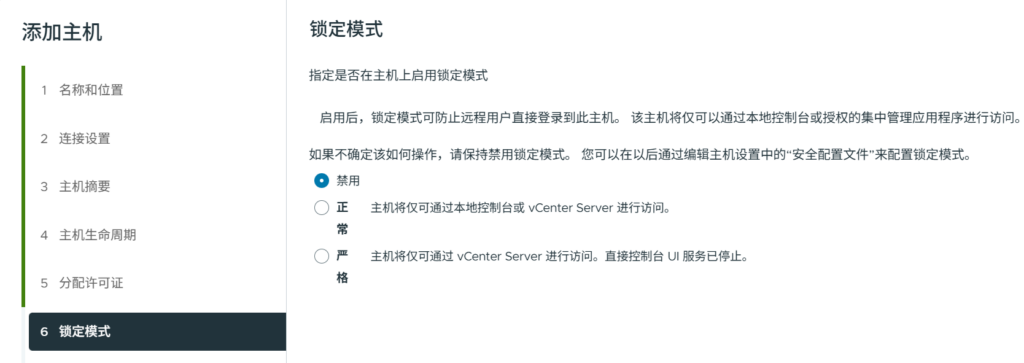
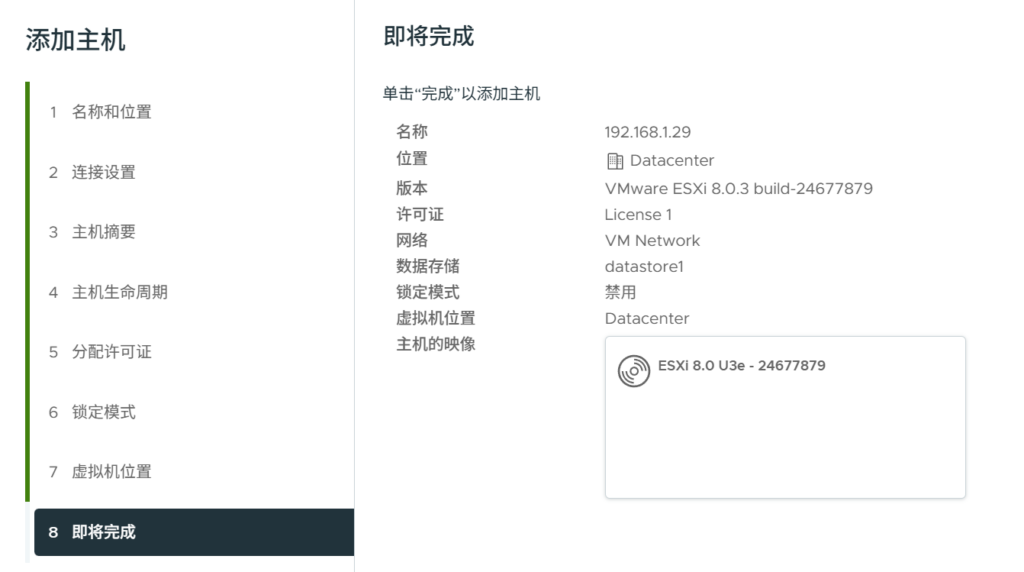
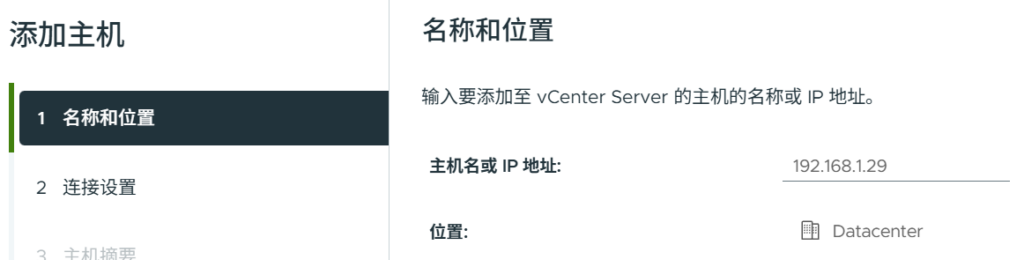
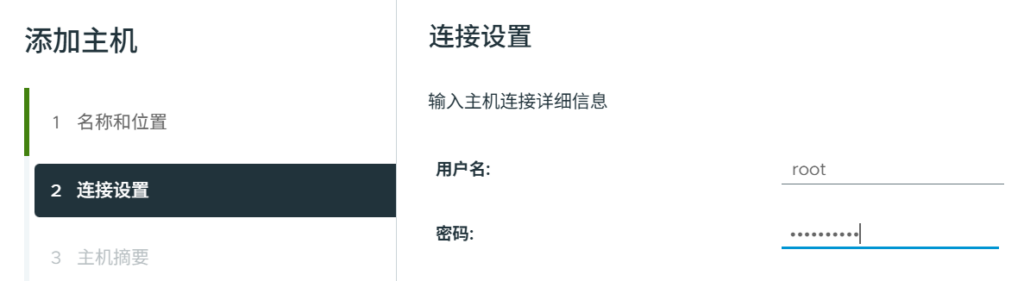
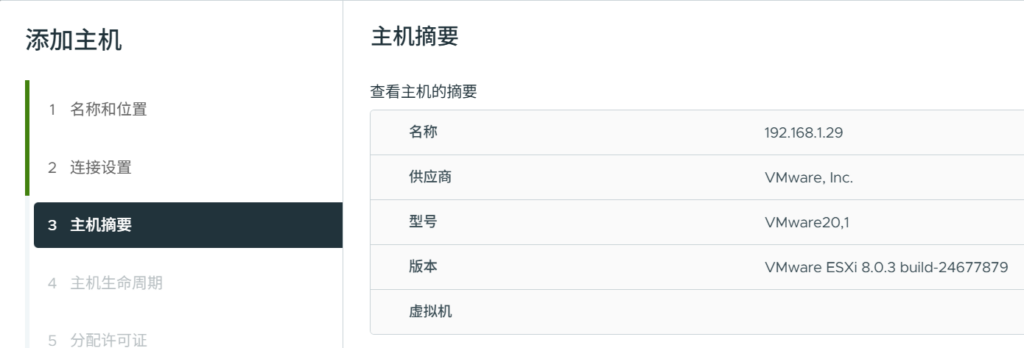
5.2.2 Add New Host

I chose the following lifecycle management option. However it doesn’t work
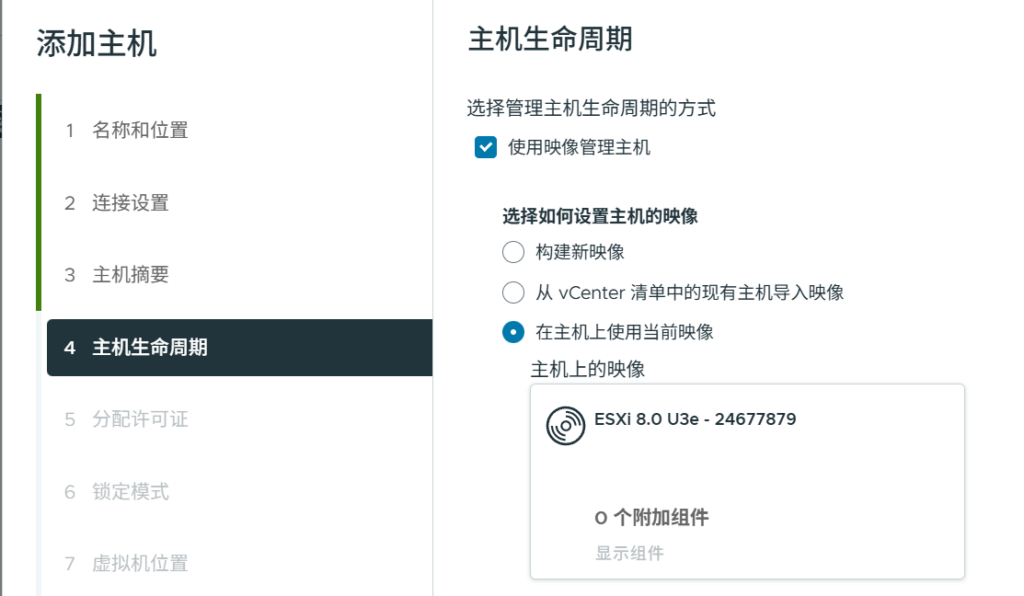
I have to select the evaluation license. Otherwise, I failed to add any new host.